Let me start with a confession: I’ve made so many lipstick mistakes. I’ve bought shades that looked stunning in the tube but made me look like a zombie when I put them on. I’ve fallen for trends that just didn’t work for me. And don’t even get me started on the time I tried a bright orange lipstick that clashed with my skin tone so badly, my best friend asked if I was feeling okay.
But over the years, I’ve learned that choosing the perfect lipstick shade isn’t about following trends—it’s about understanding your skin tone. Once you figure that out, it’s like unlocking a secret superpower. Suddenly, every lipstick you try looks amazing, and you feel like a million bucks.
So, if you’re ready to ditch the guesswork and find your perfect lipstick match, keep reading. I’m breaking it all down for you, from nudes to bold reds, and sharing my top product picks to make the process even easier.
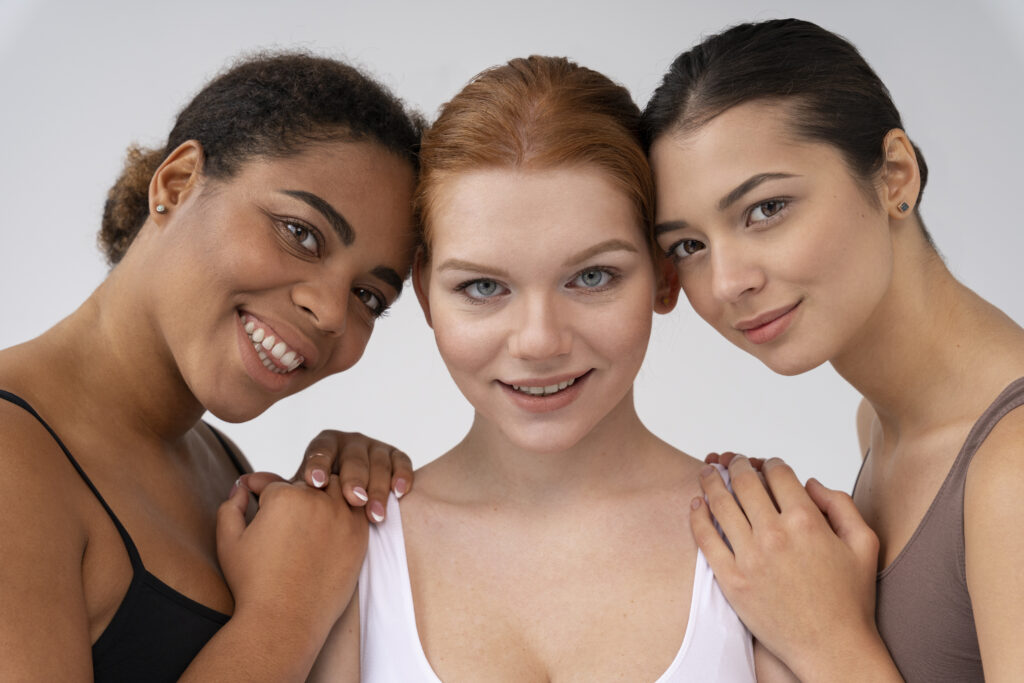
Step 1: Determine Your Skin Tone
Why It Matters: Your skin tone (light, medium, or deep) and undertone (cool, warm, or neutral) are the keys to finding your perfect lipstick match.
How to Find Your Undertone:
-
- Cool Undertones: Your veins look blue, and silver jewelry flatters you more than gold.
-
- Warm Undertones: Your veins look green, and gold jewelry looks better on you.
-
- Neutral Undertones: Your veins look blue-green, and both silver and gold jewelry suit you.
Pro Tip: Still unsure? Try the white paper test. Hold a piece of white paper next to your face in natural light. If your skin looks pinkish, you’re cool-toned; if it looks yellowish, you’re warm-toned.
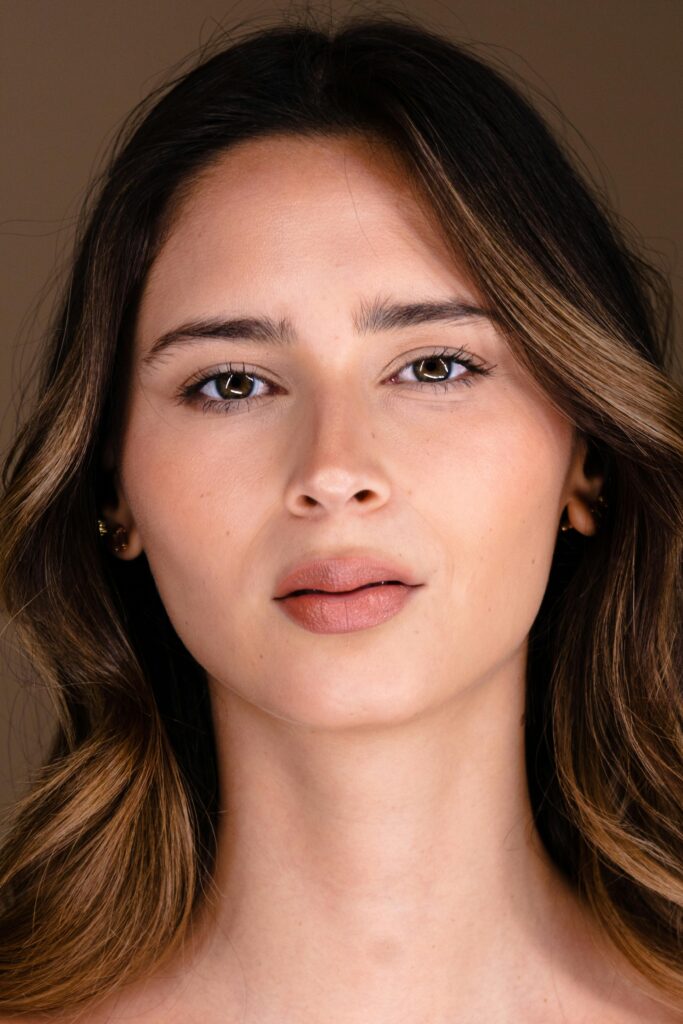
Step 2: Best Lipstick Shades for Fair Skin
Cool Undertones:
-
- Nudes: Soft pinks with blue undertones (e.g., MAC Cosmetics “Angel”).
-
- Reds: Blue-based reds (e.g., NARS “Dragon Girl”).
-
- Berries: Cool raspberry shades (e.g., Fenty Beauty “Uncensored”).
Warm Undertones:
-
- Nudes: Peachy or caramel nudes (e.g., Charlotte Tilbury “Pillow Talk”).
-
- Reds: Orange-based reds (e.g., Maybelline “Ruby for Me”).
-
- Berries: Warm cranberry shades (e.g., Revlon “Raisin Rage”).
Pro Tip: Avoid overly pale nudes—they can wash you out.
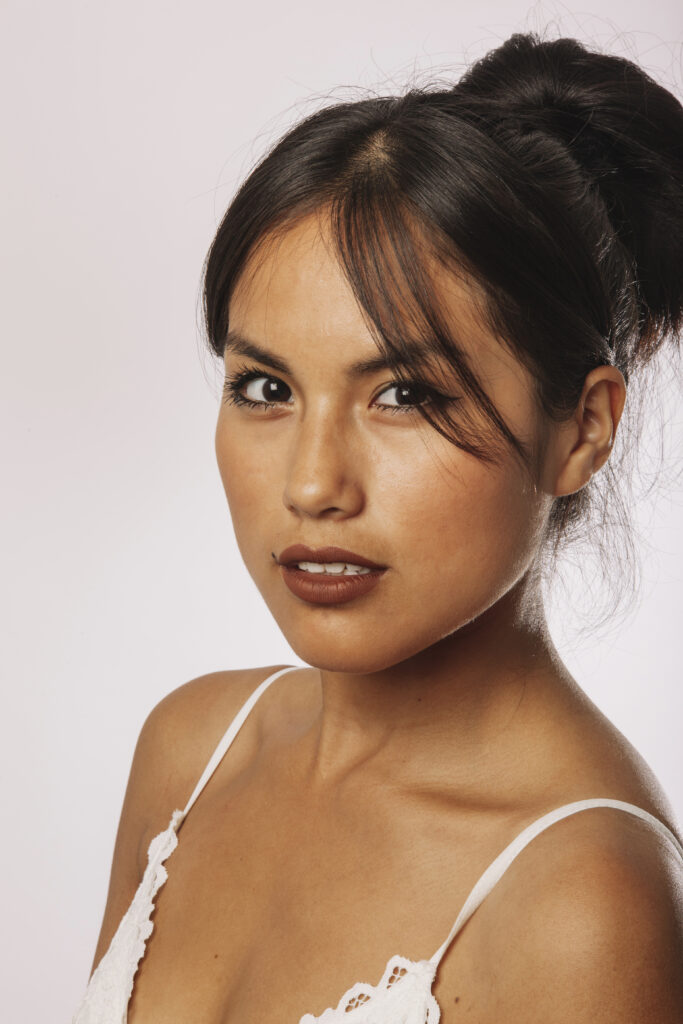
Step 3: Best Lipstick Shades for Medium Skin
Cool Undertones:
-
- Nudes: Mauve or rose-toned nudes (e.g., NYX “Stockholm”).
-
- Reds: Classic cherry reds (e.g., MAC “Ruby Woo”).
-
- Berries: Deep plum shades (e.g., Fenty Beauty “Unveil”).
Warm Undertones:
-
- Nudes: Warm caramel or bronze nudes (e.g., NARS “Afghan Red”).
-
- Reds: Fiery orange-reds (e.g., Fenty Beauty “Ma’Damn”).
- Berries: Warm, wine-colored shades (e.g., Maybelline “Berry Bossy”).
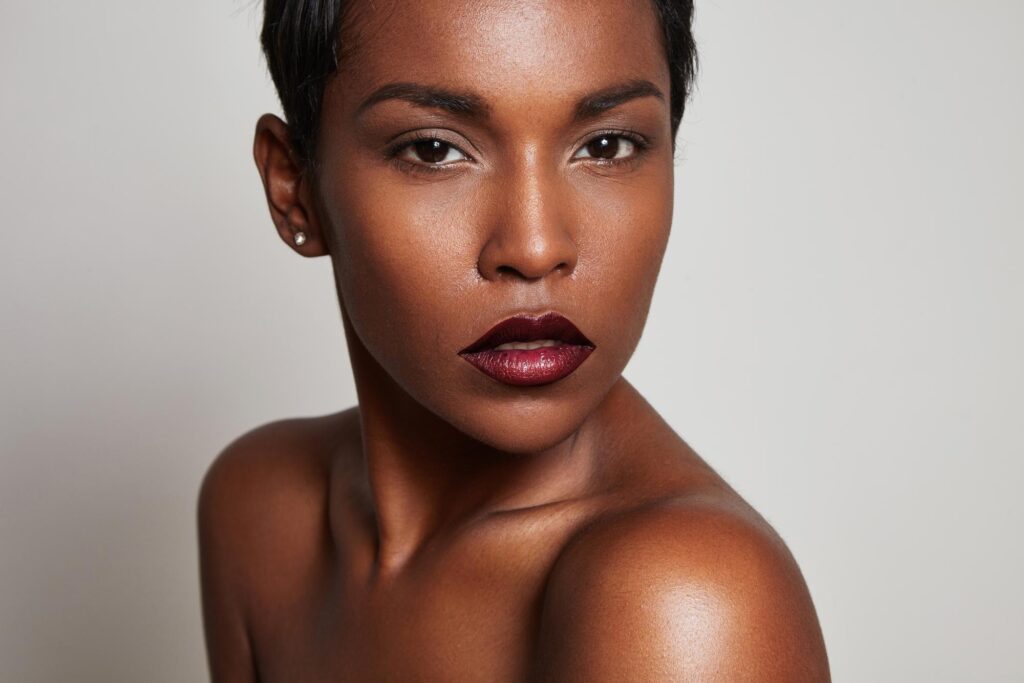
Pro Tip: Deep skin tones look stunning in metallic and glossy finishes.
Step 5: Universal Shades That Work for Everyone
Some shades are so versatile, they look amazing on all skin tones:
-
- True Red: A classic blue-based red (e.g., MAC “Ruby Woo”).
-
- Mauve: A muted pink-purple (e.g., Charlotte Tilbury “Pillow Talk”).
-
- Brick Red: A warm, earthy red (e.g., NARS “Mona”).
Pro Tip: When in doubt, swatch on your wrist or lips to see how the shade interacts with your skin.
Step 6: Don’t Forget About Finish

Why It Matters: The finish (matte, satin, glossy) can change how a shade looks on you.
-
- Matte: Long-lasting but can be drying. Great for bold colors.
-
- Satin: Hydrating with a soft sheen. Perfect for everyday wear.
-
- Glossy: High-shine and plumping. Ideal for a fresh, youthful look.
Pro Tip: If you have thin lips, avoid matte finishes—they can make lips look smaller.
FAQs (Steal These Featured Snippets!)
Q: Can I wear nude lipstick if I have cool undertones?
A: Yes! Opt for nudes with pink or mauve undertones to complement your skin.
Q: What’s the best red lipstick for warm undertones?
A: Go for orange-based or brick reds, like Maybelline “Spice for Me.”
Q: How do I make bold lipstick last longer?
A: Use a lip liner to fill in your lips, then apply lipstick and blot with a tissue.
Q: Can I wear bright colors if I have deep skin?
A: Absolutely! Vibrant purples, oranges, and fuchsias look stunning on deep skin tones.
Final Take: Finding the perfect lipstick shade doesn’t have to be a guessing game. By understanding your skin tone and undertone, you can confidently choose colors that enhance your natural beauty.
P.S. Still unsure? Start with a universal shade like true red or mauve. Once you find your confidence, the world of lipstick is your oyster. 

Disclaimer: I do receive a small commission from the items bought in the links provided. Which helps support what I do. Thank you so much in advance if you decide to try any products I suggest!
-
- Nudes: Terracotta or honey nudes (e.g., Huda Beauty “Bombshell”).
-
- Reds: Brick reds (e.g., Maybelline “Spice for Me”).
- Berries: Warm burgundy shades (e.g., NARS “Bette”).
Pro Tip: Medium skin tones can pull off bold colors like coral and fuchsia with ease.
Step 4: Best Lipstick Shades for Deep Skin
Cool Undertones:
-
- Nudes: Rich, chocolatey nudes (e.g., Fenty Beauty “Unbutton”).
-
- Reds: Deep, blue-based reds (e.g., MAC “Diva”).
-
- Berries: Vibrant purple shades (e.g., Pat McGrath Labs “Vendetta”).
Warm Undertones:
-
- Nudes: Warm caramel or bronze nudes (e.g., NARS “Afghan Red”).
-
- Reds: Fiery orange-reds (e.g., Fenty Beauty “Ma’Damn”).
- Berries: Warm, wine-colored shades (e.g., Maybelline “Berry Bossy”).
Pro Tip: Deep skin tones look stunning in metallic and glossy finishes.
Step 5: Universal Shades That Work for Everyone
Some shades are so versatile, they look amazing on all skin tones:
-
- True Red: A classic blue-based red (e.g., MAC “Ruby Woo”).
-
- Mauve: A muted pink-purple (e.g., Charlotte Tilbury “Pillow Talk”).
-
- Brick Red: A warm, earthy red (e.g., NARS “Mona”).
Pro Tip: When in doubt, swatch on your wrist or lips to see how the shade interacts with your skin.
Step 6: Don’t Forget About Finish
Why It Matters: The finish (matte, satin, glossy) can change how a shade looks on you.
-
- Matte: Long-lasting but can be drying. Great for bold colors.
-
- Satin: Hydrating with a soft sheen. Perfect for everyday wear.
-
- Glossy: High-shine and plumping. Ideal for a fresh, youthful look.
Pro Tip: If you have thin lips, avoid matte finishes—they can make lips look smaller.
FAQs (Steal These Featured Snippets!)
Q: Can I wear nude lipstick if I have cool undertones?
A: Yes! Opt for nudes with pink or mauve undertones to complement your skin.
Q: What’s the best red lipstick for warm undertones?
A: Go for orange-based or brick reds, like Maybelline “Spice for Me.”
Q: How do I make bold lipstick last longer?
A: Use a lip liner to fill in your lips, then apply lipstick and blot with a tissue.
Q: Can I wear bright colors if I have deep skin?
A: Absolutely! Vibrant purples, oranges, and fuchsias look stunning on deep skin tones.
Final Take: Finding the perfect lipstick shade doesn’t have to be a guessing game. By understanding your skin tone and undertone, you can confidently choose colors that enhance your natural beauty.
P.S. Still unsure? Start with a universal shade like true red or mauve. Once you find your confidence, the world of lipstick is your oyster.
Disclaimer: I do receive a small commission from the items bought in the links provided. Which helps support what I do. Thank you so much in advance if you decide to try any products I suggest!