Let’s get real: if your press-ons aren’t lasting 21 days, you’re doing it wrong. As a reformed salon junkie who’s now a press-on evangelist, I’ve hacked these babies to survive three full weeks of typing, dishwashing, and even gardening marathons. No lifting. No chips. Just perfection.
Follow these 2025-tested steps, and you’ll forget what a nail salon even looks like.
Nuclear-Level Prep: The 3-Week Secret Starts Here

Lazy prep = Lifted nails by day 5. Here’s how to prep like a boss:
First invest in a good nail kit (I suggest ZIZZON Professional Nail Care kit), then prep your nails like below.
- Trim & Shape First Cut natural nails short and file them flat. Press-ons adhere best to a smooth, even surface.
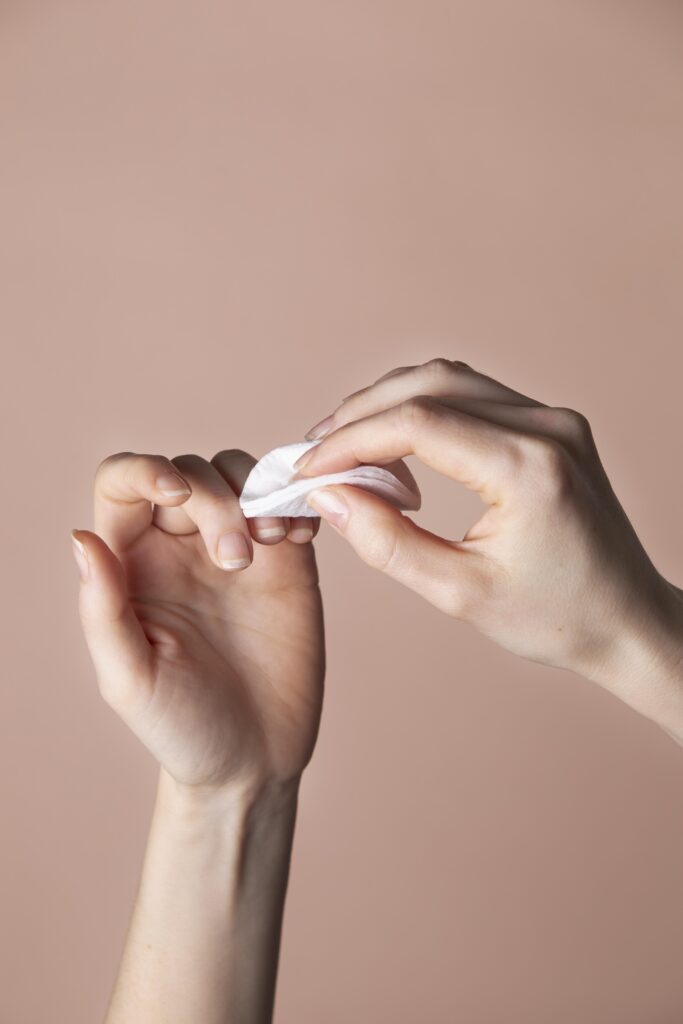
- Buff and Etch Use a 180-grit file to gently rough up the nail plate, then swipe with acetone twice to obliterate oils.
- Apply a Bonding Primer This is 2025’s game-changer. A thin layer of nail primer (like Mia Secret or Young Nails) creates a glue-gripping base. Let it dry completely.
The goal is to prep your nails like a salon. There is a reason why nails last longer there than when done at home. Investing a little for home nail care goes a long way!
Pro Tip: Push back cuticles aggressively. Any overlap = instant lifting.
The 3-Week Application Method: Glue Plus Tabs
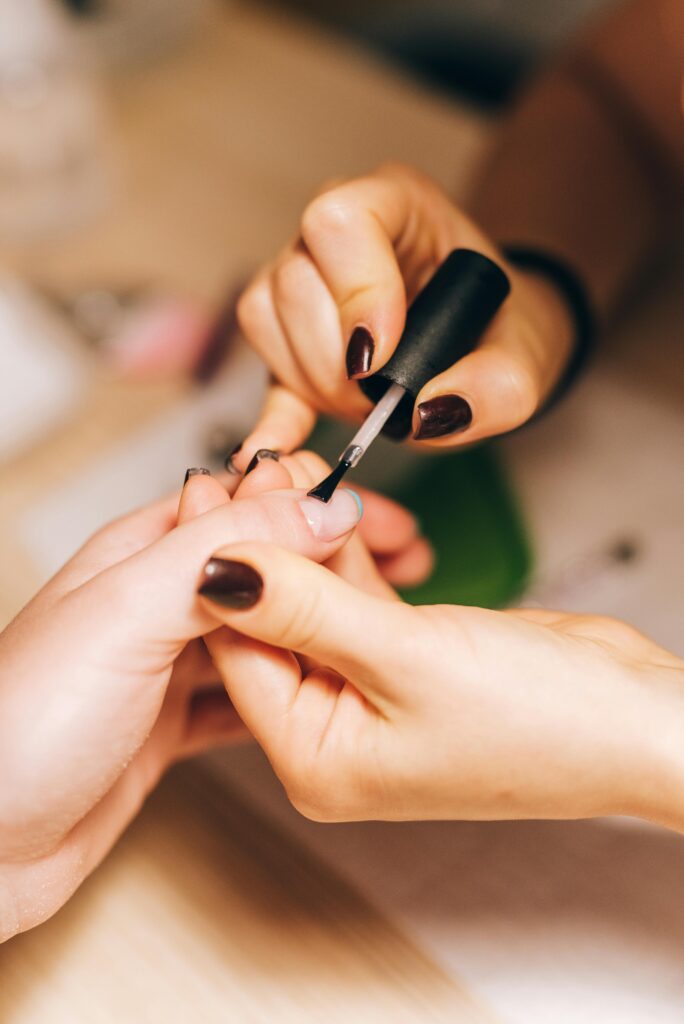
Forget “either/or.” 2025’s holy grail is adhesive tabs and glue:
- Double-Up Adhesive Place a sticky tab on the press-on, then add a rice-sized drop of nail glue (try NYK1 Glue) in the center.
- Press Like Your Life Depends on It Align the nail at 45 degrees, press down for 30 seconds, then squeeze the sides to “pinch” the C-curve. Repeat for all 10 nails.
- Lock It In Cure under a UV lamp for 60 seconds (optional but chef’s kiss for longevity). There are a ton of affordable UV lamps on the market.
Warning: Avoid water, lotion, and existential crises for 2 hours post-application.
3-Week Maintenance: Outsmart Lifting & Growth
- Day 3 Check-In Press down each nail for 10 seconds to rebond any early lifts.
- Week 1 Refresh Dab a drop of glue under the free edge (near the tip) to combat natural nail growth gaps.
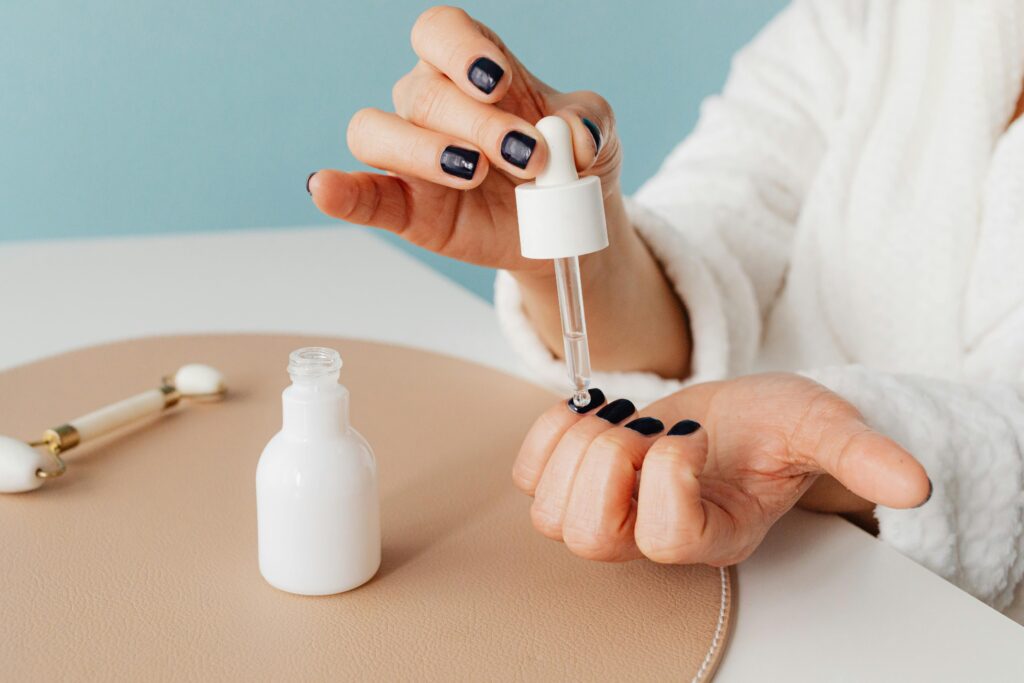
- Oil After Day 2 Post-48 hours, slather cuticle oil daily to keep nails healthy—but avoid the press-on base!
Game-Changer Hack: Use a “fill” press-on for gaps as your nails grow. File it to fit and glue it over the exposed area.
3 Mistakes That Sabotage 21-Day Wear
- Using Weak Glue Drugstore glue won’t cut it. Invest in cyanoacrylate-based glue.
- Ignoring Temperature Apply in a warm room. Cold = glue brittleness.
- Over-Filing Natural Nails Too thin = weak base. Buff gently—you’re prepping, not excavating.
The 2025 Removal Guide (No Damage!)
After 3 weeks, remove like a pro:
- Soak in Acetone Wrap nails in acetone-soaked cotton and foil for 15 mins.
- Slide Off Gently Use a cuticle pusher to lift press-ons without prying.
- Hydrate Like Crazy Soak nails in jojoba oil post-removal to repair.
Final Take: 21 Days of Unapologetic Glam
With 2025’s hacks, press-ons aren’t a “quick fix”—they’re a lifestyle. Save $200+/month, skip the salon small talk, and rock those spring pastels like you’ve got a personal nail tech on speed dial.
P.S. If a nail pops off? Sand the inside, reprime, and reglue. These babies are reusable.
Nails to try:
BTArtbox Square Ombre Press On Nails
BTArtbox French Tip Press On Nails
Glamnetic Press On Nails – Petals